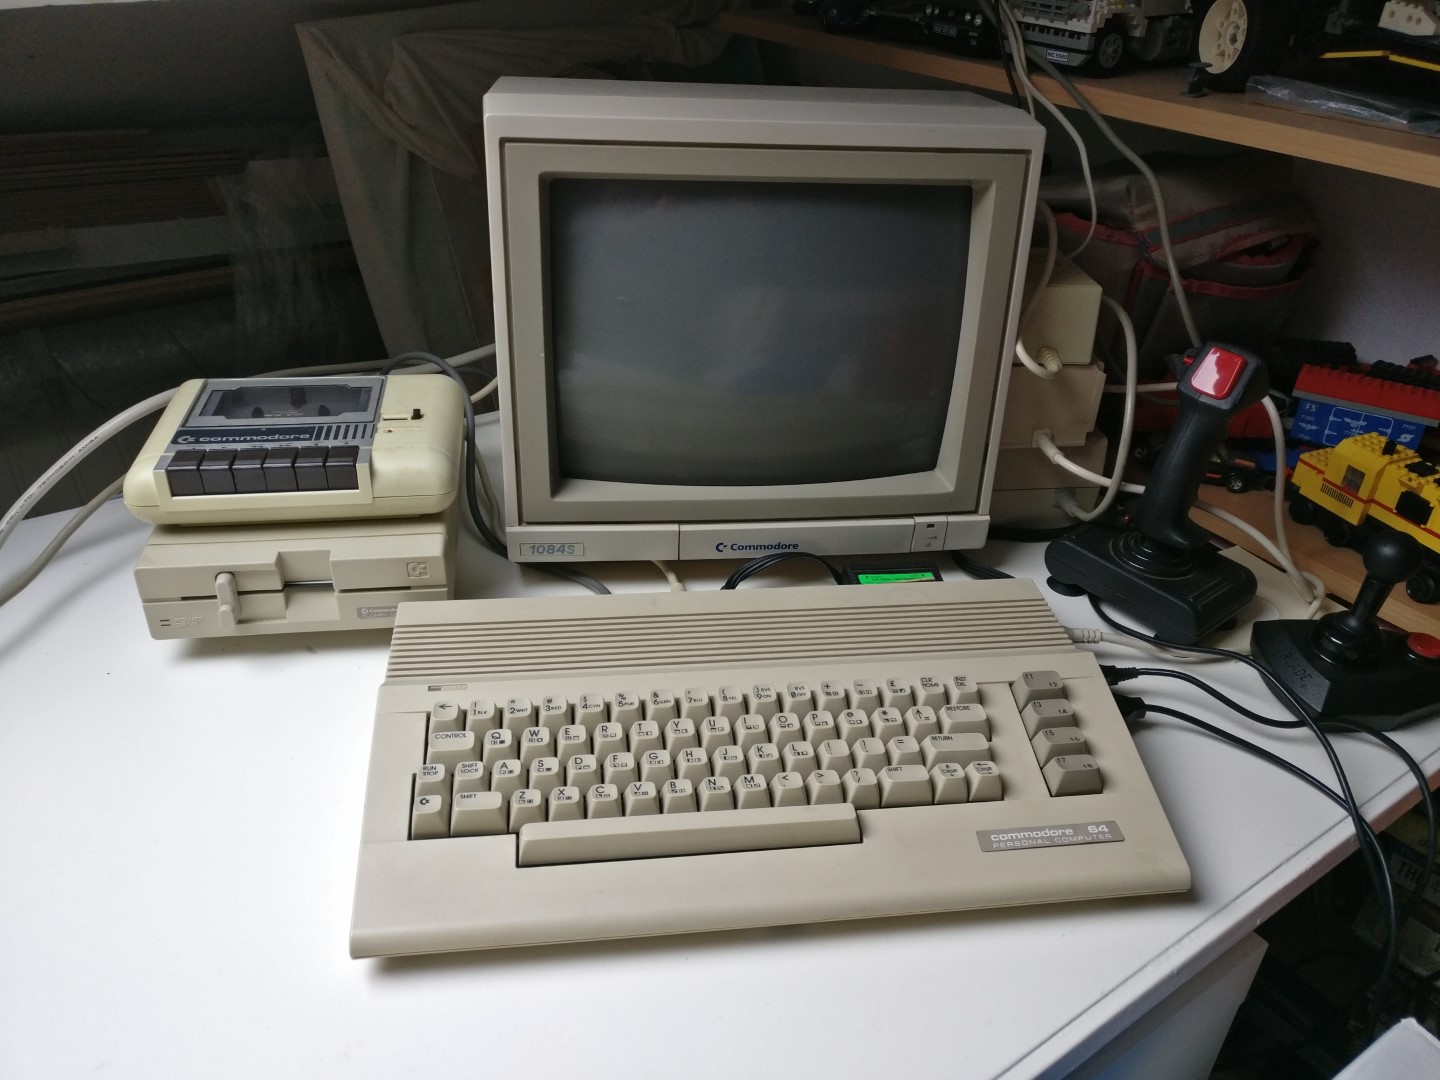
As many of you might know, the Commodore 64 is still a very popular platform to play games on, create music on or just dust off your very Basic (buhuh) skills. Even I recently got one from a dear colleague (thanks Jelle & Simon!), a Commodore 64C – the “revised” model – with a power supply, the 1530 Datasette, lots of tapes and cartridges, and a bunch of cables. And later on, I found a Commodore 1541-II disk drive and some floppy disks and a nice Commodore 1084S stereo monitor. More on that in a different post.
But software!
Options, options
The games that I wanted to replay weren’t there on the disks. Two things one can do then:
- Dig deeper in your local CraigsList (Marktplaats, in my case) to find the disk with your beloved software on it and hope it still works, or
- Try to find a way to write the disks with software images downloaded from the big bad internets.
Option 1 just takes too long, and costs quite a lot. So I took on option 2! Functional requirements were basically “copy downloaded software to a Commodore readable disk and run it on the Commodore 64“. Shouldn’t be that hard, should it?
What do we know?
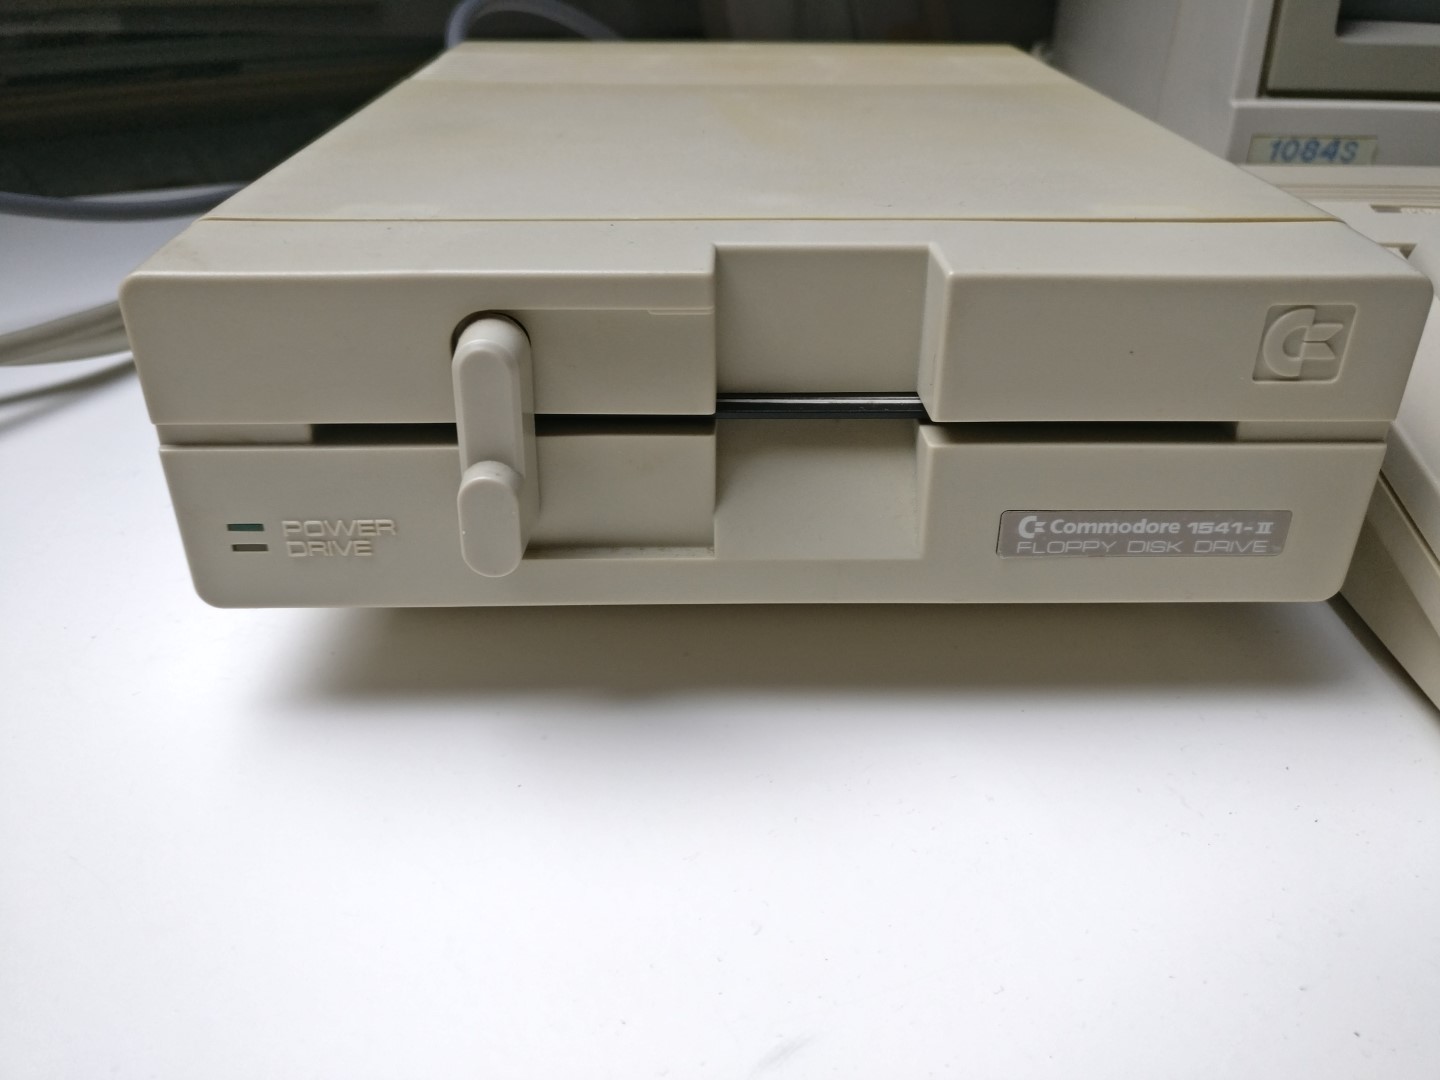
OK, a little research. The 1541-II disk drive for example: it’s a single sided, single density 5.25″ floppy disk drive. It’s capable of writing about 170KB in 663 blocks on a SS/SD disk.
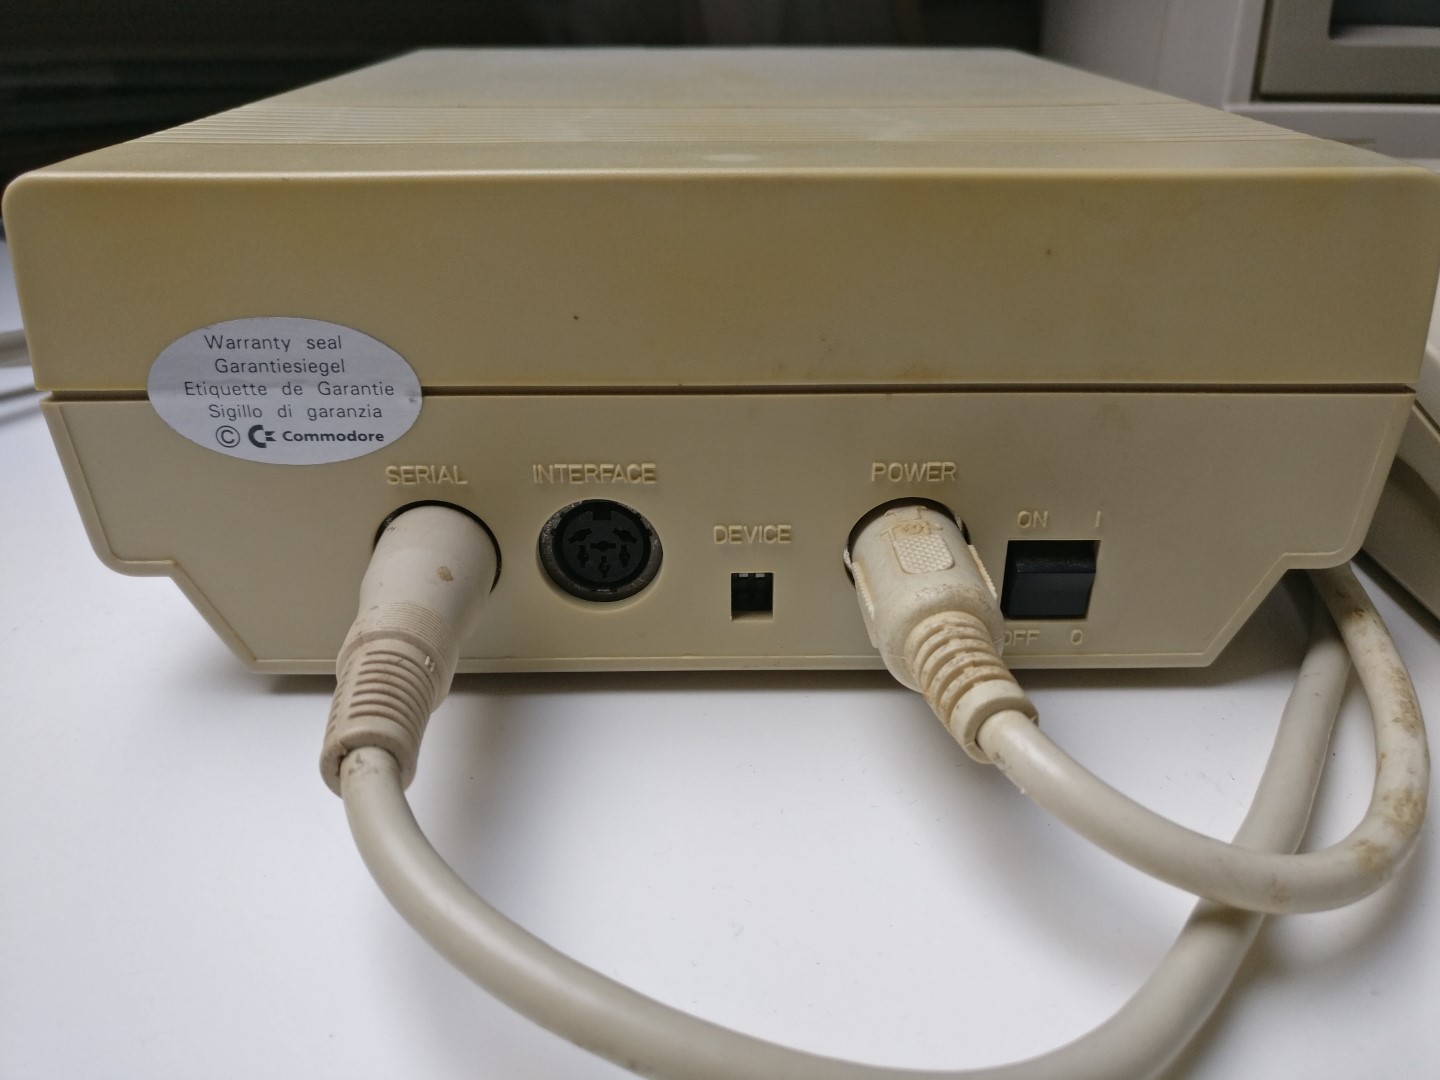
At the rear there are connectors for the separate power supply and the serial bus, with the bus ID dipswitched from 8 to 11. Keep it to 8 if there is no need to change it. A serial-to-serial cable is used to connect the drive to a C64 computer. Transfer speed is quite slow, but can be accelerated.
As software goes: Commodore software is usually packed in one single .PRG, but other file formats are also possible. Keep it at .PRG for now. These can be LOADed and SAVEd to memory, with a maximum of 202 blocks to put it in memory for a C64. Mileage may vary with other Commodore computers. There is also a .D64 file format, to include a complete disk image. Software can easily be obtained on a lot of sites. Let’s not waste time on that. But, simply writing .PRG’s to a SS/SD floppy disk in a PC 5.25″ drive doesn’t really work that way. There are some nifty hardware solutions like a Catweasel controller to accomplish that, but I wanted to use a bit more appropriate hardware and stick to the 1541-II to write to.
Now what?
So now we know what we really want: a way to connect the 1541-II to a PC. Google to the rescue: C64 Wiki mentions the magic words “X1541 cables”. It’s a series of cables that connects the serial interface of a 1541 or 1541-II to the parallel port of a PC. And using the Star Commander software, it should be fairly easy! At least they say.. The X1541 cable is the most basic one, with XE1541 a bit more advanced. Serial DIN interface on one side, DB25 for parallel port on the other. There are even more sophisticated cables, also running parallel instead of just serial. Wait, what can be “advanced” with a simple serial cable? Well, I learnt that there seems to be a difference between Pre-Pentium LPT ports and Pentium-and-higher LPT ports, as explained at Star Commander page. Going for maximum compatibility and no surprises, I wanted an old PC with true SPP. So that would be a 386 or 486.
Knowing all the components we need, let’s make a shopping list:
- X1541 cable or equivalent
- 1541-II drive with power supply
- 386 or 486 running plain MS-DOS with a LPT port in SPP mode
- a 5.25″ floppy disk
- Star Commander installed and configured on the PC
- Some .PRG images to test with
- Working Commodore 64 setup to LOAD and RUN the software, the ultimate test!
Now, let’s get to work.
Part II will be about the process of combining & configuring the kit, and Part III will be describing usage and of course a demo 🙂